
Wordpress Installation on Ubuntu 16.04
Ubuntu 16.04 is quite old and requires the installation of some dependencies for WordPress installation and proper functionality.
STEPS
- SYSTEM UPDATE AND UPGRADE
sudo apt update && sudo apt upgrade -y
- Apache Installation
sudo apt install apache2 -y
- PHP INSTALLATION WordPress requires PHP to function but Ubuntu16.04’s highest version of PHP is 7.0, which is not sufficient. So we are installing 7.4 using a third-party library.
sudo add-apt-repository ppa:jczaplicki/xenial-php74-temp
Press "Enter" when prompted.
sudo apt-get update
sudo apt install php7.4
Press "y" when prompted.
- PHP MYSQLI EXTENSION INSTALLATION
sudo apt install php7.4-mysql
sudo phpenmod mysqli
sudo systemctl restart apache2
- UNINSTALLING PHP7.0 IF ALREADY INSTALLED
type **php -v** to check the actively running php version
sudo a2dismod php7.0
sudo a2enmod php7.4
sudo systemctl restart apache2
- MYSQL INSTALLATION
sudo apt update
sudo apt install mysql-server -y
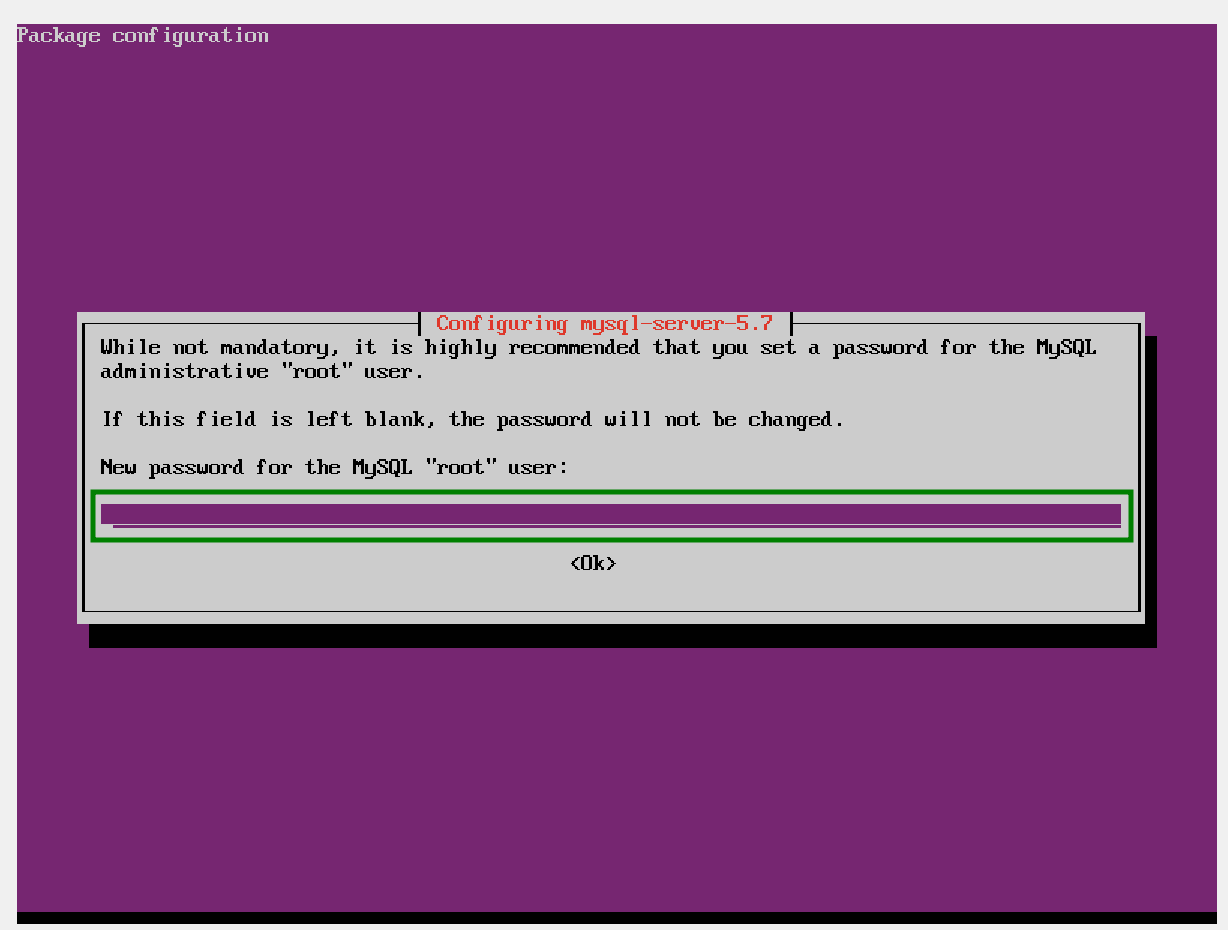 Enter a password you can remember.
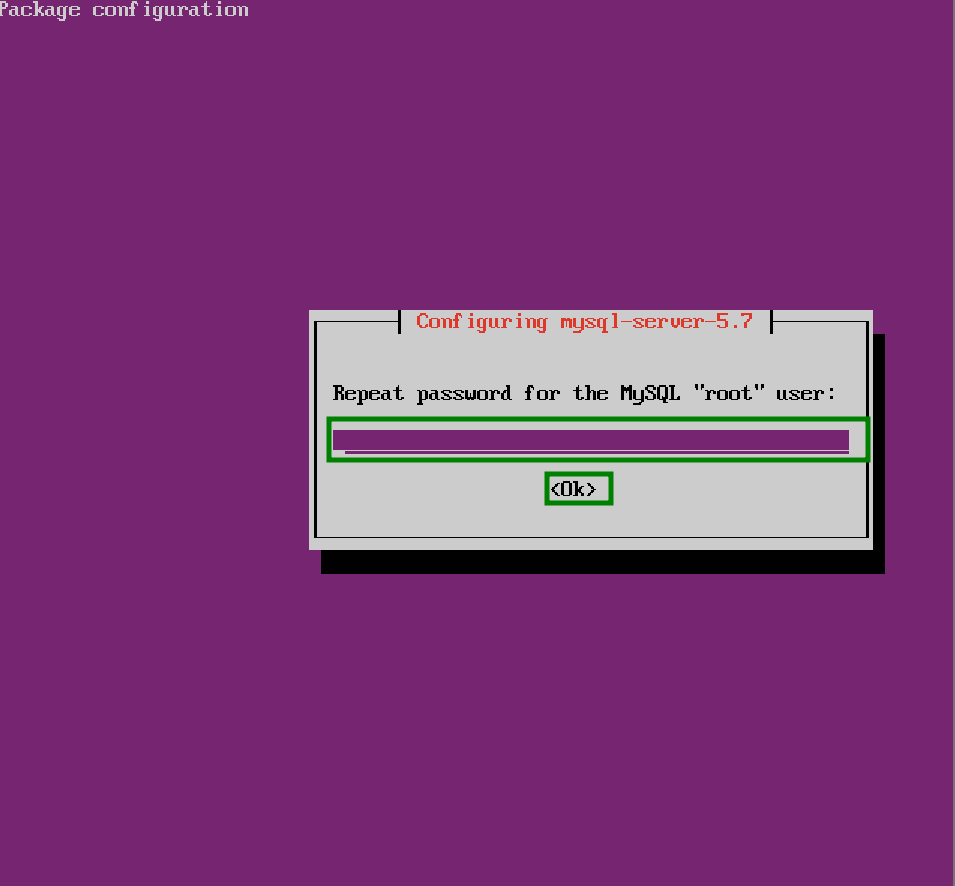 Repeat password and press
 enter to proceed.
sudo mysql_secure_installation
Enter your created password when prompted
Enter "y" when prompted
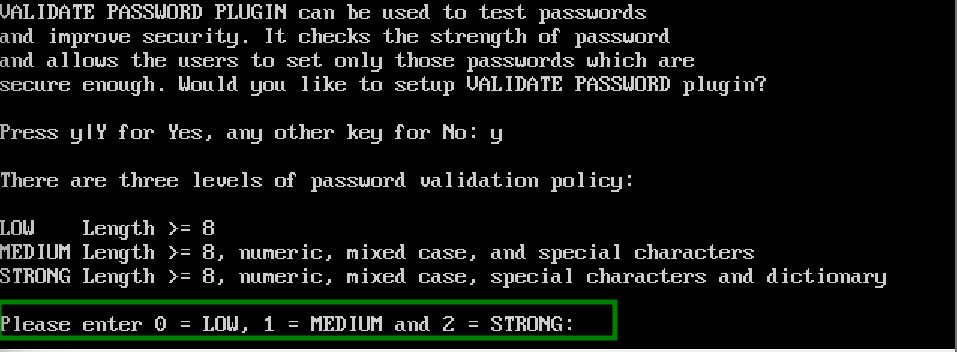 Enter the number representing the desired password strength
Press "y" when prompted
Enter your new password and press Enter to proceed
Repeat the new password and press Enter
Press "y" when prompted

DEPENDING ON YOU
Remove or keep anonymous users when prompted.
Disallow or allow root login remotely when prompted
Keep or remove test database when prompted

RELOAD PRIVILEGE TABLES
Press "y" and press Enter to proceed.
- MYSQL LOGIN AND DB CREATION
sudo mysql -u root -p
Enter password
WORDPRESS DB CREATION
CREATE DATABASE wordpress;
CREATE USER 'wordpressuser'@'localhost' IDENTIFIED BY 'password'; (replace 'wordpressuser with your desired username and 'password' with your desired password.
GRANT ALL PRIVILEGES ON wordpress.* TO 'wordpressuser'@'localhost'; (replace 'wordpressuser' with the username used above)
FLUSH PRIVILEGES;
EXIT;
- WORDPRESS INSTALLATION
sudo apt update
wget https://wordpress.org/latest.tar.gz
tar -xvzf latest.tar.gz
sudo mv wordpress /var/www/html/
- SET PERMISSIONS
sudo chown -R www-data:www-data /var/www/html/wordpress
sudo chmod -R 755 /var/www/html/wordpress
- Apache Configuration
sudo nano /etc/apache2/sites-available/wordpresss.conf
ENTER THE BELOW CONFIGURATION CAREFULLY IN THE EMPTY FILE
  <VirtualHost *:80>
    ServerName enter you server ip or domain here" e.g ServerName 192.168.300.6
    DocumentRoot /var/www/html/wordpress

    <Directory /var/www/html/wordpress>
        AllowOverride All
        Require all granted
    </Directory>

    ErrorLog ${APACHE_LOG_DIR}/error.log
    CustomLog ${APACHE_LOG_DIR}/access.log combined
  </VirtualHost>
SAVE CONFIGURATION
  ctr x
  Press y
  Press Enter
  sudo a2ensite wordpress.conf
  sudo a2enmod rewrite
  sudo systemctl restart apache2
NOTE: There is a possibility of typing this wrongly and getting error when you are about to restart the server. use sudo apachectl configtest to trace the error.
- LOGIN TO YOUR WORDPRESS WEBSITE
Access your wordpress website using http://your_server_ip example http://192.168.300.6
- COMPLETE INSTALLATION
Select desired language
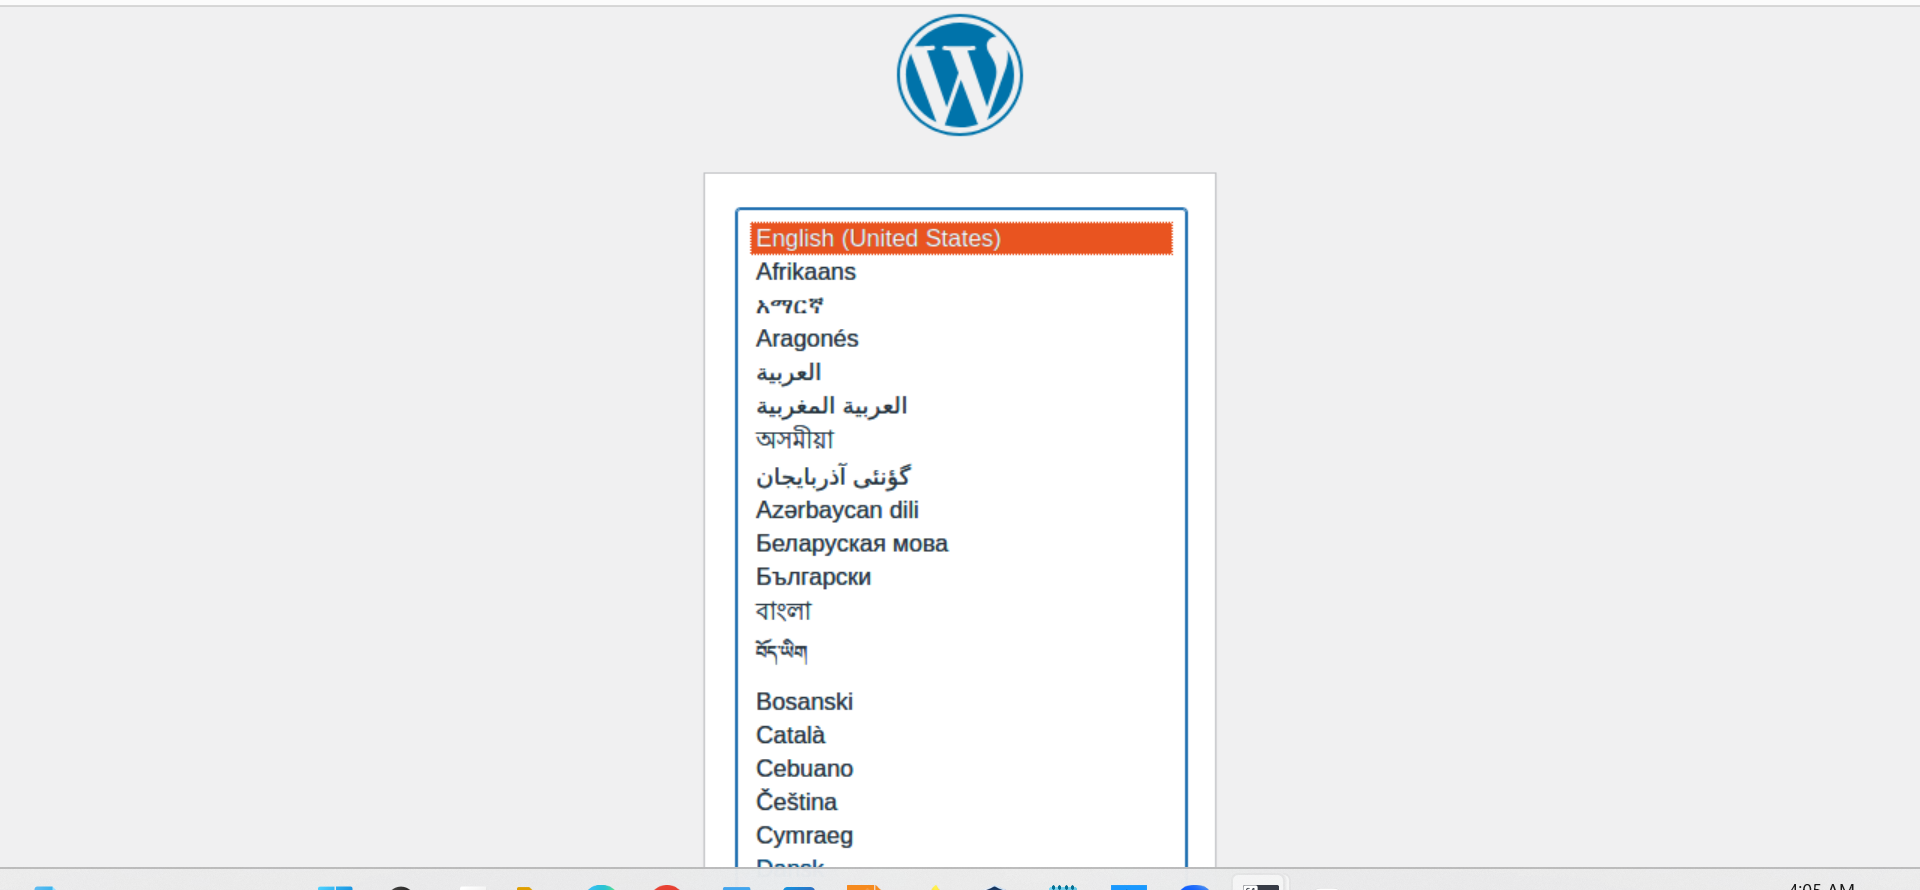
Select Let's go
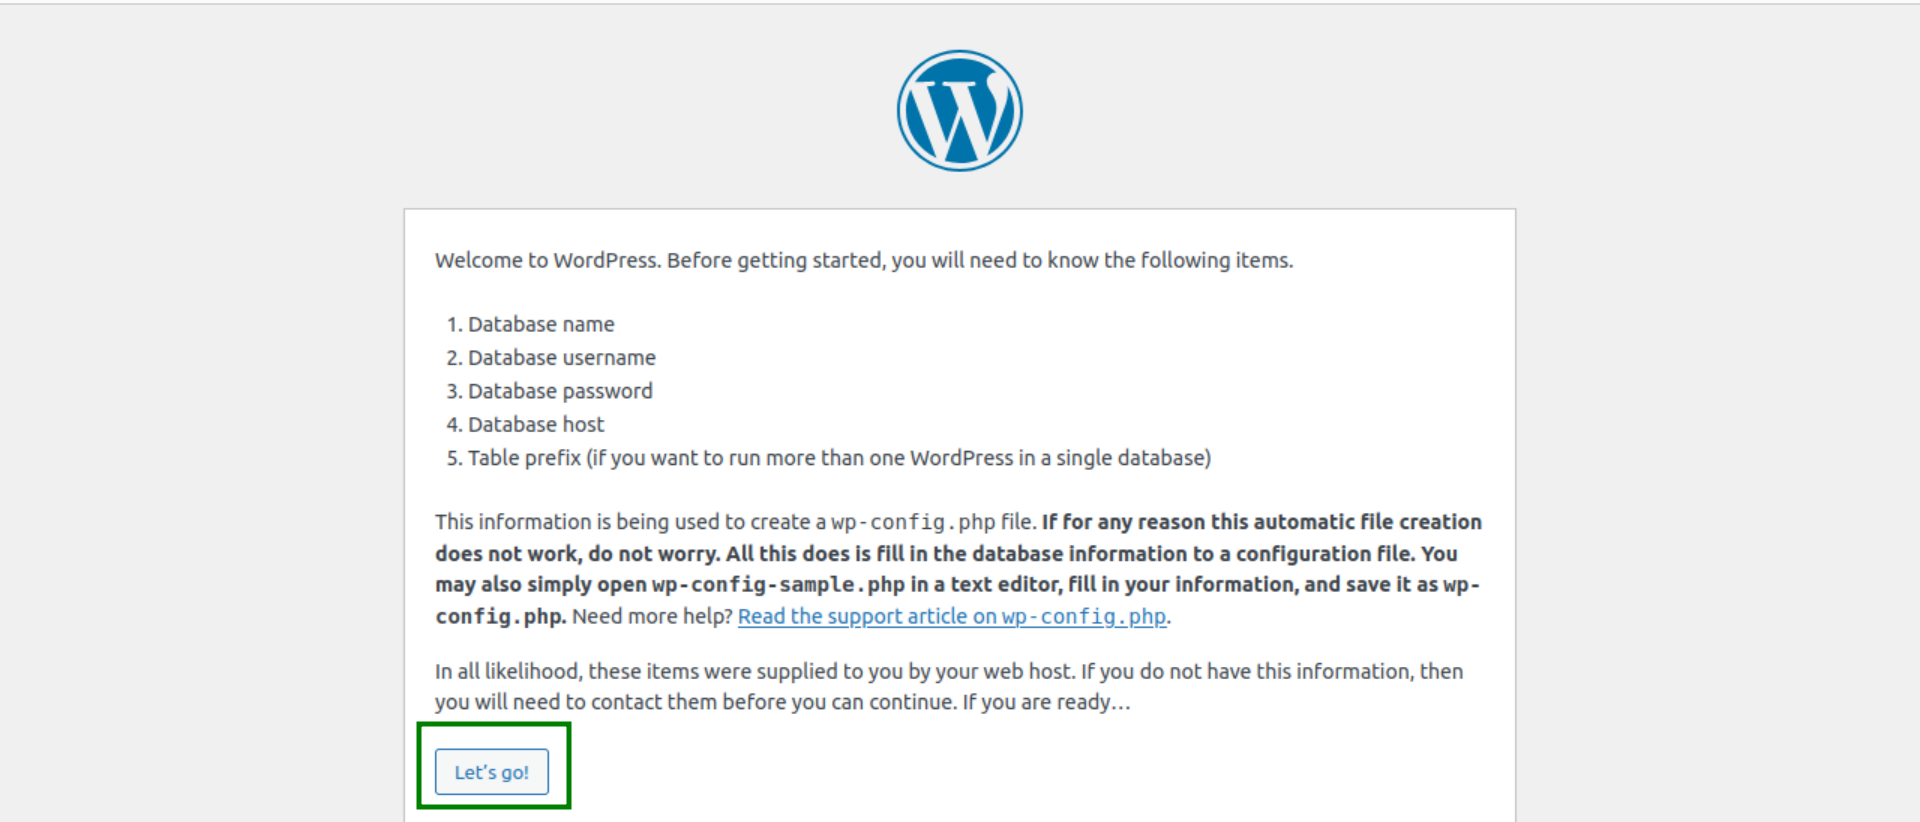
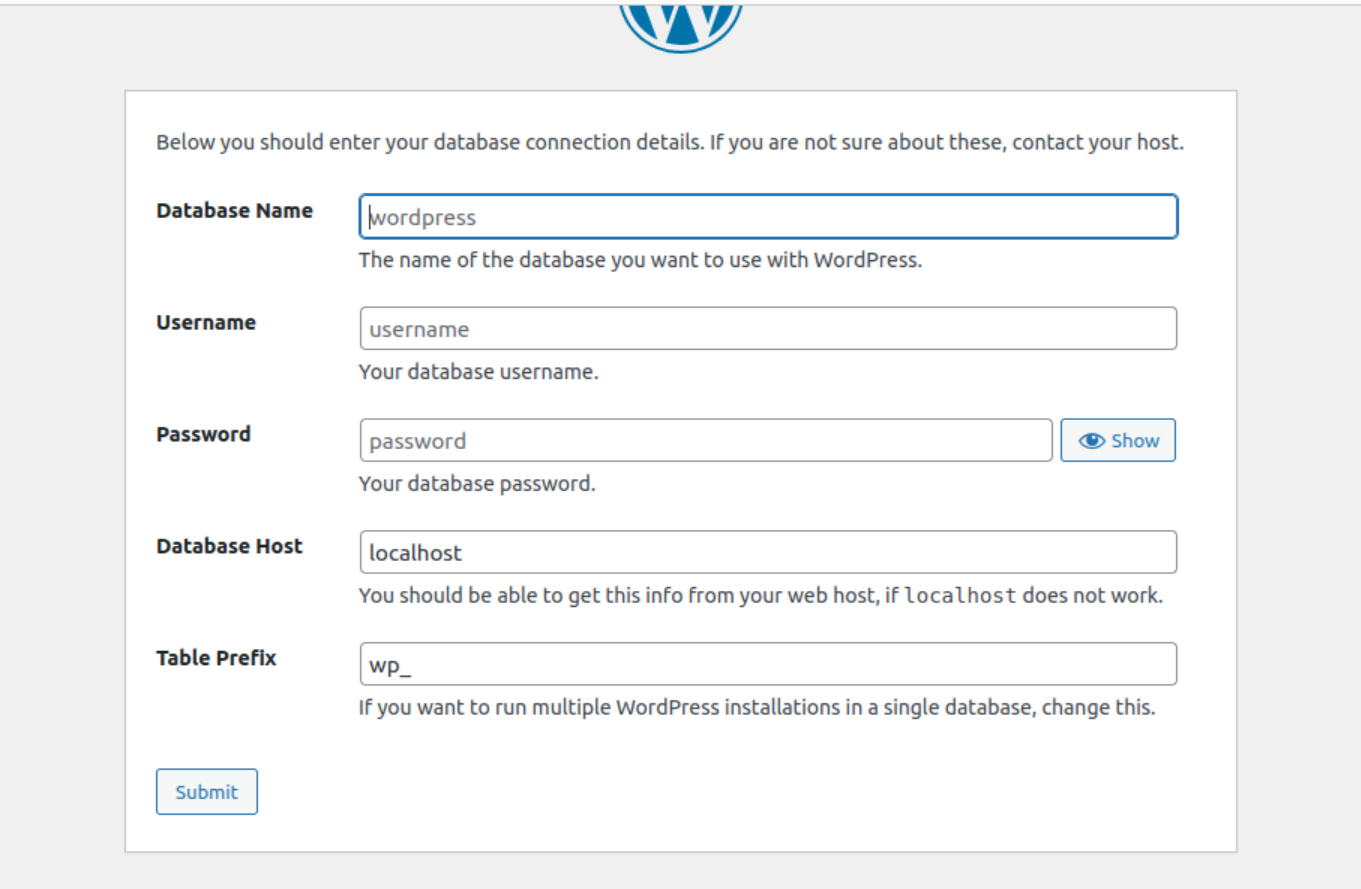
Enter the name of the database created earlier "wordpress"
Enter the created database username
Enter the created database password
Click submit
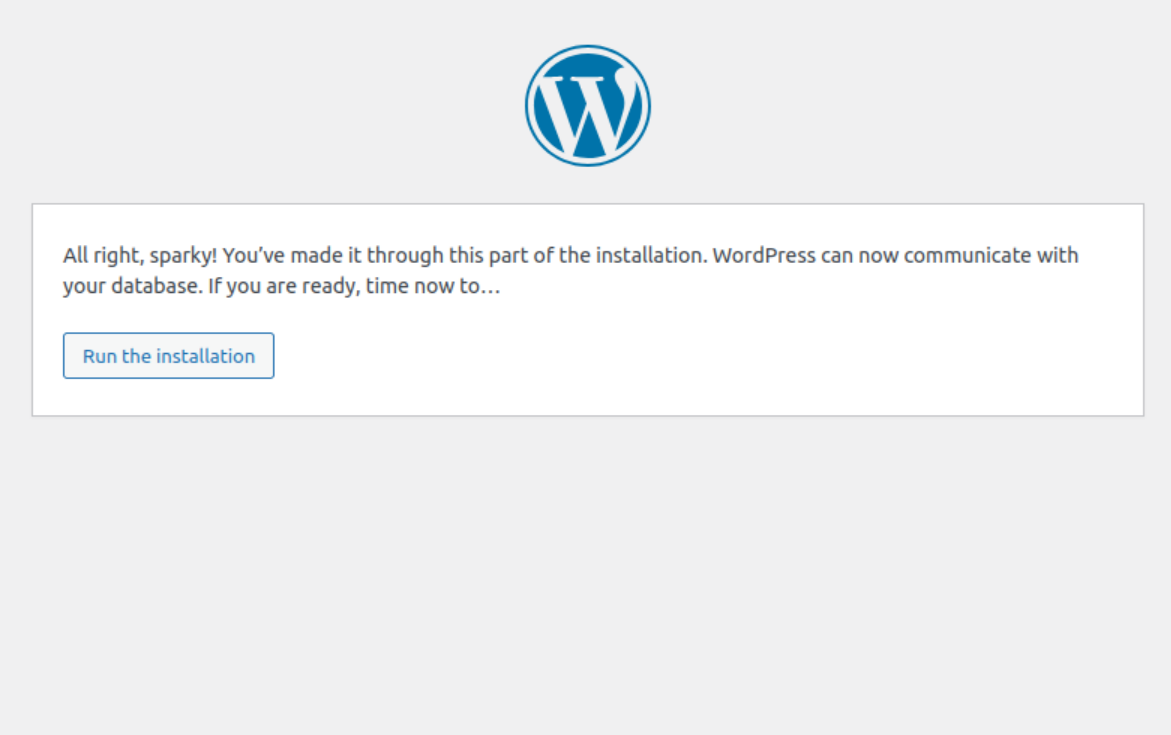
Click Run the installation to proceed
Enter the site details
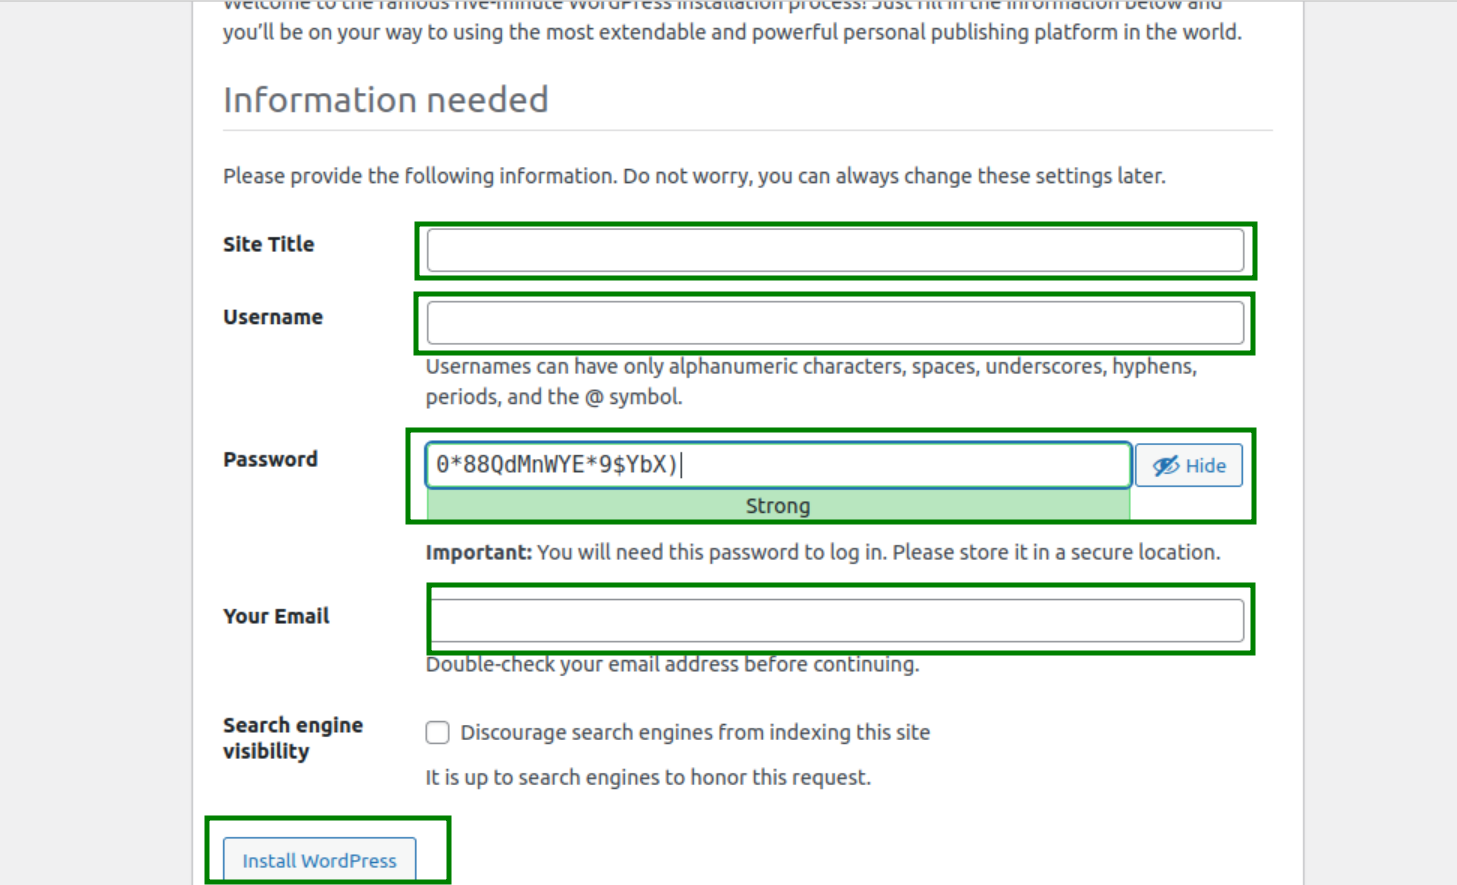
Complete installation and proceed to login
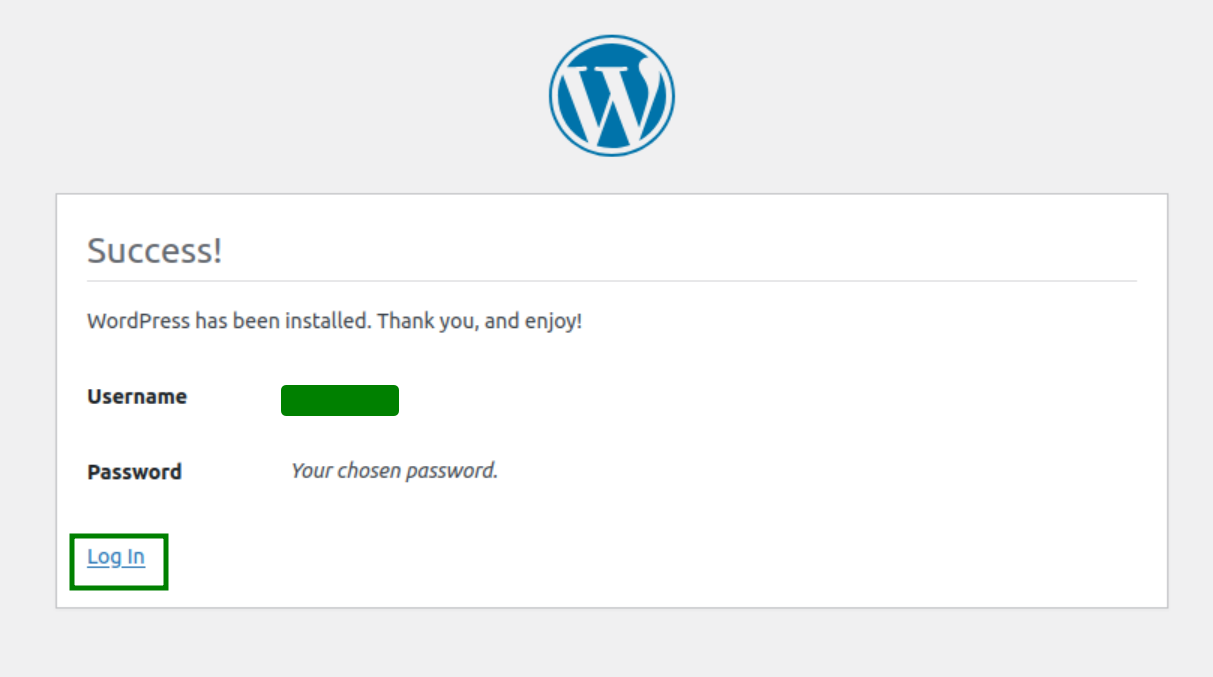
HAVE FUN!
 System Monitoring with Zabbix